The DIR-knot
Used by divers on long hoses and HP hoses
Courtesy or Agir Brok - Original Article LINK
Do you need to attach a clip to a hose, SPG or backup light? Struggling with figuring out how to do it?
Maybe you have been told that there must be no metal-to-metal connections. Maybe you have seen other divers use zip-ties, o-rings or special breakaway contraptions that are single use.
When you attach a piece of equipment to yourself or to your rig there are a few factors to consider. First of all, the attachment must be reliable and dependable, it should not come loose. Second, for safety, in an emergency, it must be possible to disconnect, either by force or with your dive knife or cutting tool. Also, it is an advantage if it is a simple, cheap and readily available method.
Let us take a look at the DIR-knot. You will need a piece of string, approximately 30 to 50 cm, depending on what you want to attach, this should be pre soaked (and dried) string, that way it doesn't expand afterwards. You will find suitable line on your spool or reel. You will also need a cutting tool (dive knife or similar) and a source of heat, such as a lighter.
Tying the DIR-knot
First, place the two items you want to attach next to each other. Work on a surface where you can position the items so you can use your hands to manipulate the string.
Make sure the string is long enough to grip so you can tighten the knot thoroughly, with some force. Start by threading the string behind and up through the eye of the clip.
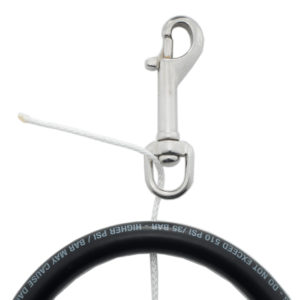
Thread the string through the eye of the clip.
Three turns
Then continue by looping the line around the two items three times. Try to align the string so that the three turns sit nicely in order, next to each other, from left to right. This will make the knot tidy and look good but also improve its reliability.
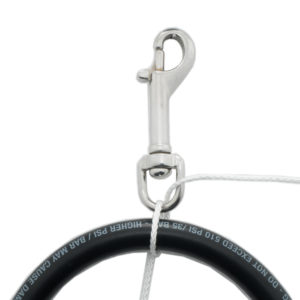
Pass the string around and then through the eye of the clip again.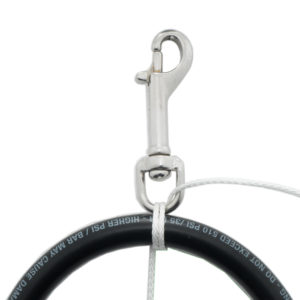
Repeat the previous steps again for a second turn.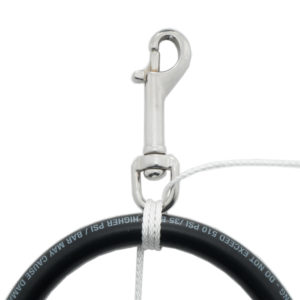
Then do a third turn.
Overhand knot
Make an overhand knot on the first side. If done right it will sit nice and perpendicular to the three turns. Tighten the knot as much as you can.
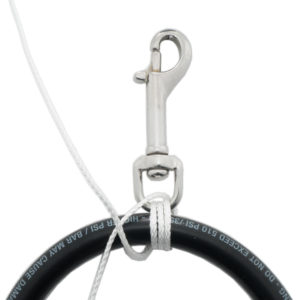
Cross the ends of the string, and…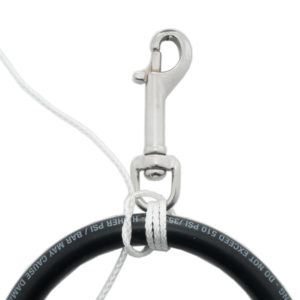
…make an overhand knot
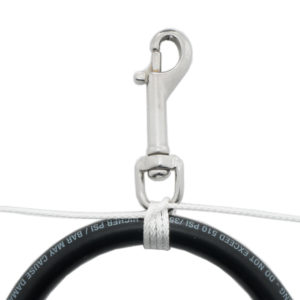
Tighten the overhand knot.
Turn over
Carefully, while keeping the overhand knot tight, turn everything over.
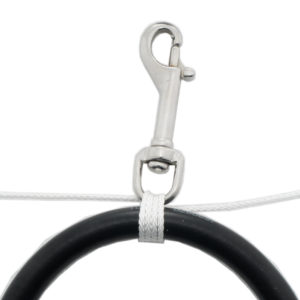
Turn everything over so the overhand knot faces away from you.
Reef knot
We will make a reef knot. A reef, or square, knot is essentially two overhand knots on top of each other. One done left over right and the other right over left (or vice versa).
Make an overhand knot. Just like on the first side. Left end in front of the right. Tighten well.
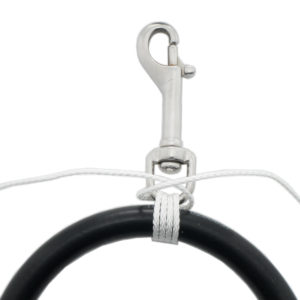
Cross the strings, left end in front of the right end, and…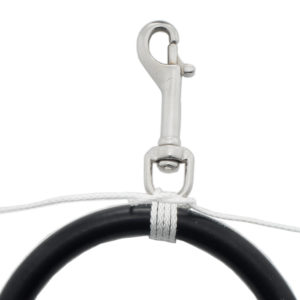
…make another overhand knot. Tighten.
Try to keep the first overhand knot tight while making another one. This time with the right end in front of the left. The knot should be square and symmetrical. If it is not, it is a granny knot, which will not hold as well.
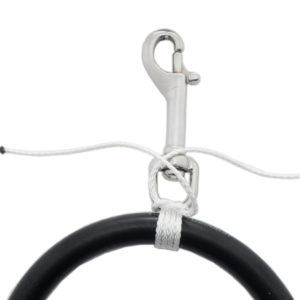
Cross the strings again, this time with the right end before the left end.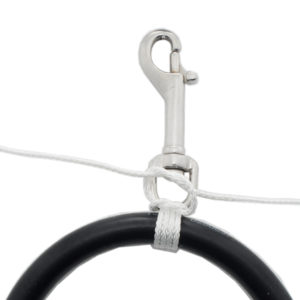
…make another overhand knot over the other.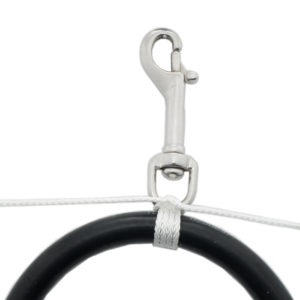
Forming a reef, or square, knot. Make sure it is symmetrical, a granny knot will not hold as well. Tighten.
Melt and trim
We are almost done. Just need to trim and secure the ends. Start by cutting them. Leave about one centimeter of string on each side.
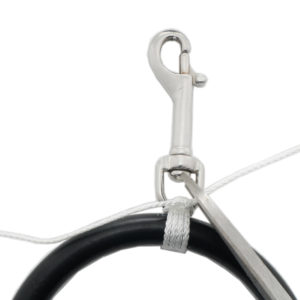
Cut one end.
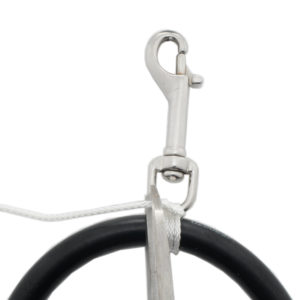
Cut the other end.
Then carefully, using the lighter, melt each end. Take care so you do not damage any of the attached items. Use the back of the lighter, pressed to the melted string, to flatten the ends and create a mushroom shape. This stops the knot from unraveling.
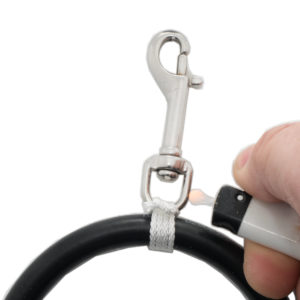
Use a lighter to burn and melt the end.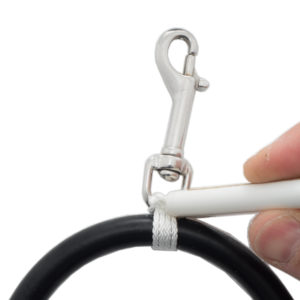
Then use the lighter to press the melted end into a mushroom. Repeat for the other end.
Check the knot
You are almost done. Inspect your handiwork. Eye the knot, check that you made a square knot. Pull and twist on the clip to make sure the knot is good. Now you have a secure attachment of one item to another. In an emergency you can cut the items free with a knife or cutting tool.
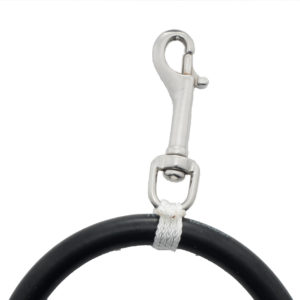
You are done.


